If it seems like I am jumping from one thing to another on this build it is probably because I am. I have been having trouble with focus. I am really trying to get to the point where I can put something together and leave it. You know, real progress. It has been too cold in the shop to paint so I can't start bolting things to the firewall, so I decided to start in on the front axle.
When I got the knuckles off I found this thing in the upper king pin.
 And, I saw serious wear. Notice how sharp the edge is in picture right. There is a lot of steel missing here. After inquiring on dieseltruckresource.com, I found that the hex thing with the cross in the top is part of a caster camber fix kit. There was supposed to be a pin in the cross that held an offset upper bushing, but there was a stock bushing under the cap on the pin.

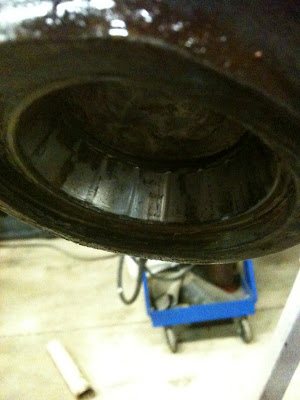
I also found this ugliness on the dust cap. At first I did not know what was going on. Then...
 ...I found this. This gob of goo is sealer due to holes punched by somebody who was to cheap to replace a dust cap.
 More carnage. These bearing races have seen a few too many miles and maybe a little too much water.
 In this shot you can see the lower eccentric from the kit mentioned before. You can also see the condition of the dust cap. The seal that usually covers this was just sitting there lose. Unless the kit comes with an offset seal, I cannot see how it would work with this smaller bearing holding the lower pin off center. The seal that I took out was all mashed, but looked like a stock seal. Who knows.
 I did not get a pick of this when I finished welding it, but it did not matter. It did not work. I was trying to make a tool to remove the upper king pin. When I ordered my parts from 4wd factory, I forgot to order the big hex wrench. I welded the doodad that was in the upper pin to an old tie rod I had in the corner. I proceeded to break the nut off a couple of times before I gave up and ordered the dang wrench.
 ...I found this. This gob of goo is sealer due to holes punched by somebody who was to cheap to replace a dust cap.
 More carnage. These bearing races have seen a few too many miles and maybe a little too much water.
 In this shot you can see the lower eccentric from the kit mentioned before. You can also see the condition of the dust cap. The seal that usually covers this was just sitting there lose. Unless the kit comes with an offset seal, I cannot see how it would work with this smaller bearing holding the lower pin off center. The seal that I took out was all mashed, but looked like a stock seal. Who knows.I did not get a pick of this when I finished welding it, but it did not matter. It did not work. I was trying to make a tool to remove the upper king pin. When I ordered my parts from 4wd factory, I forgot to order the big hex wrench. I welded the doodad that was in the upper pin to an old tie rod I had in the corner. I proceeded to break the nut off a couple of times before I gave up and ordered the dang wrench.

 Here is the big honkin' allen wrench chucked into the king pin. I propped up the inner c away from my wood saw horse so I wouldn't catch it on fire when I heated it with the torch.
 The white bar is the handle off my floor jack. They call this a "swede" and I tink it'll work pretty good, ya sure.
 Now the heat. I heated it for a while and then hung on the swede and bounced until it let loose with a clang. It did no favors for my bulging disc in my back. Then I had to do the other side.
 The torque spec on those id 600-700 pounds. sheesh. Once it clanged, it threaded right out. I did not take any picks of the new one, I simply put it in with loctite and bounced on the bar a few times to tighten it in.
 Next, I finally saved enough to replace the badly worn axle u-joints. Both sides were bad. This is one of the places I had robbed from this project to keep other trucks on the road. One side was off my ramcharger, the other was off my 91 ctd. They both had orange dust where the needles were supposed to be.
 Man those u-joints are beefy.
 I torqued the front leaves on to the axle housing with the old u-bolts. I thought this one looked a little hinky (notice the bend). I will definitely be replacing these bolts.
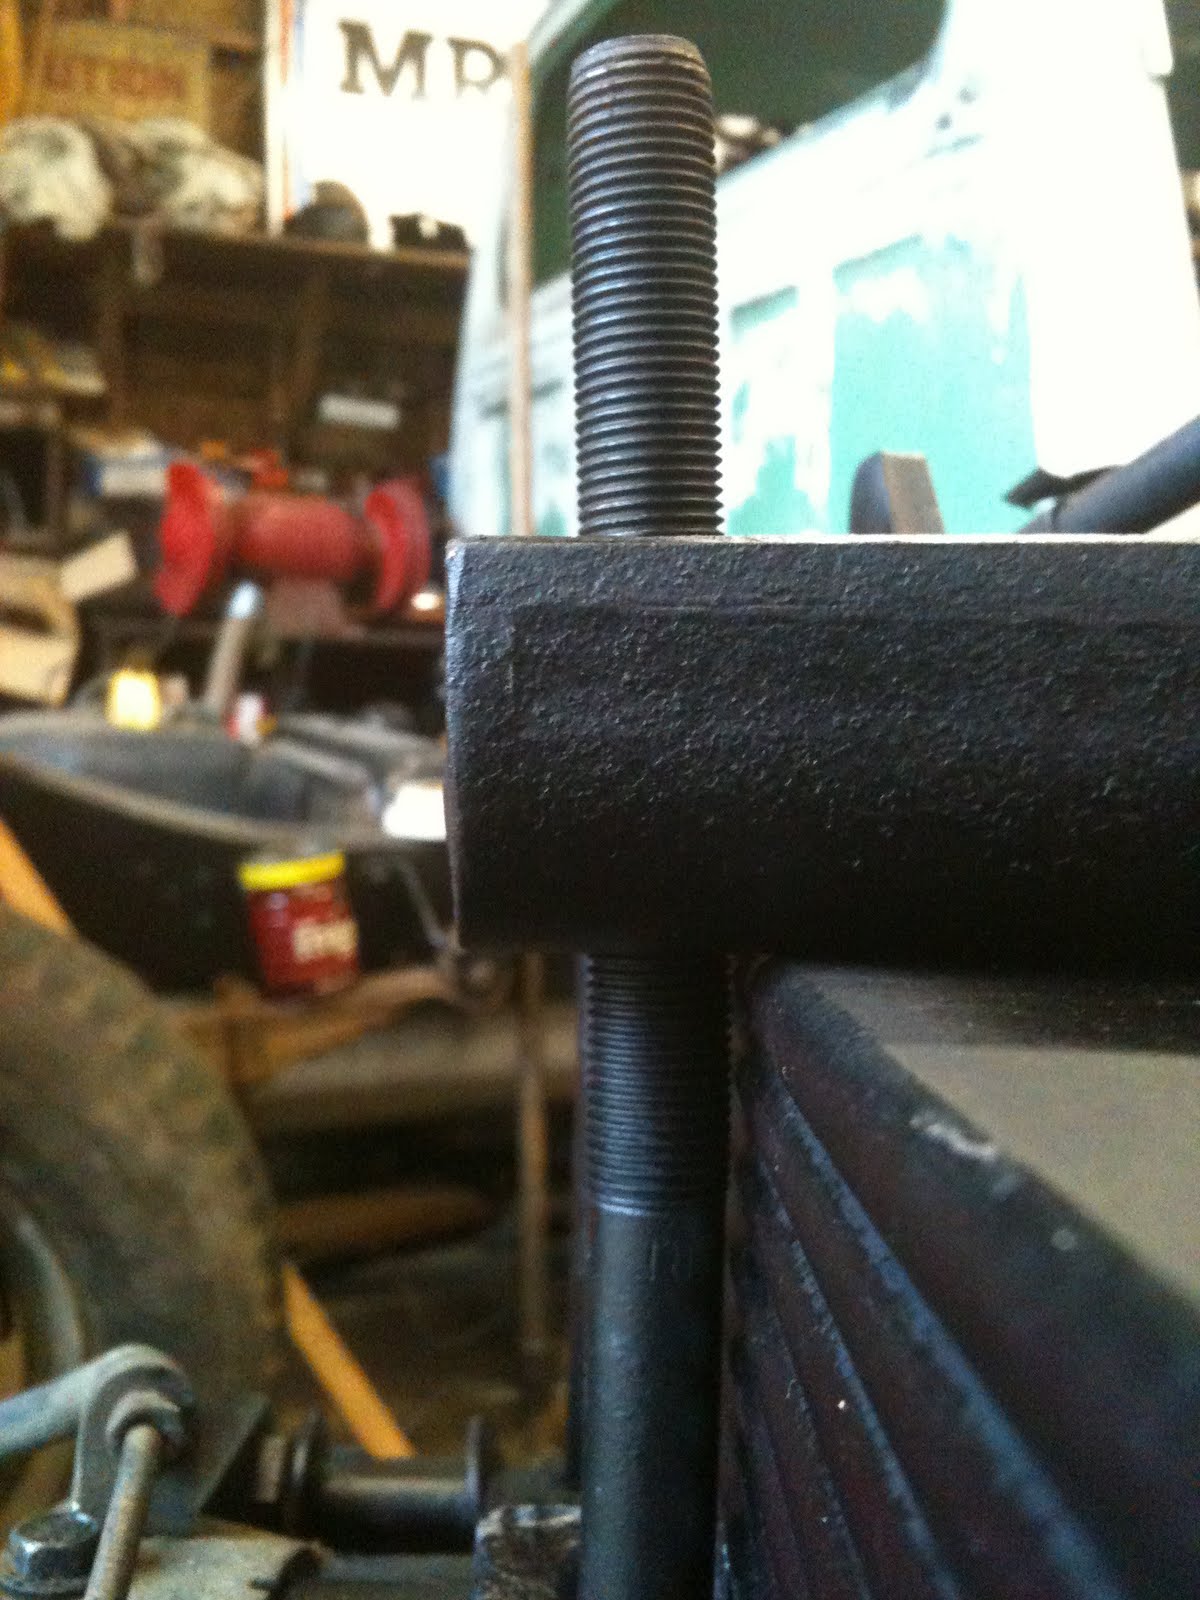 painted-up and ready to put back under the truck.
 Back in where it belongs.
 New rotor and freshly painted parts.
 Shortly after this pic, I put new calipers with like-new pads here.
 And its back on the ground with the wrong tires. These are a set of 16.5" I got from a neighbor mainly for the wheels so I could mount my old 35s on them for a future project.
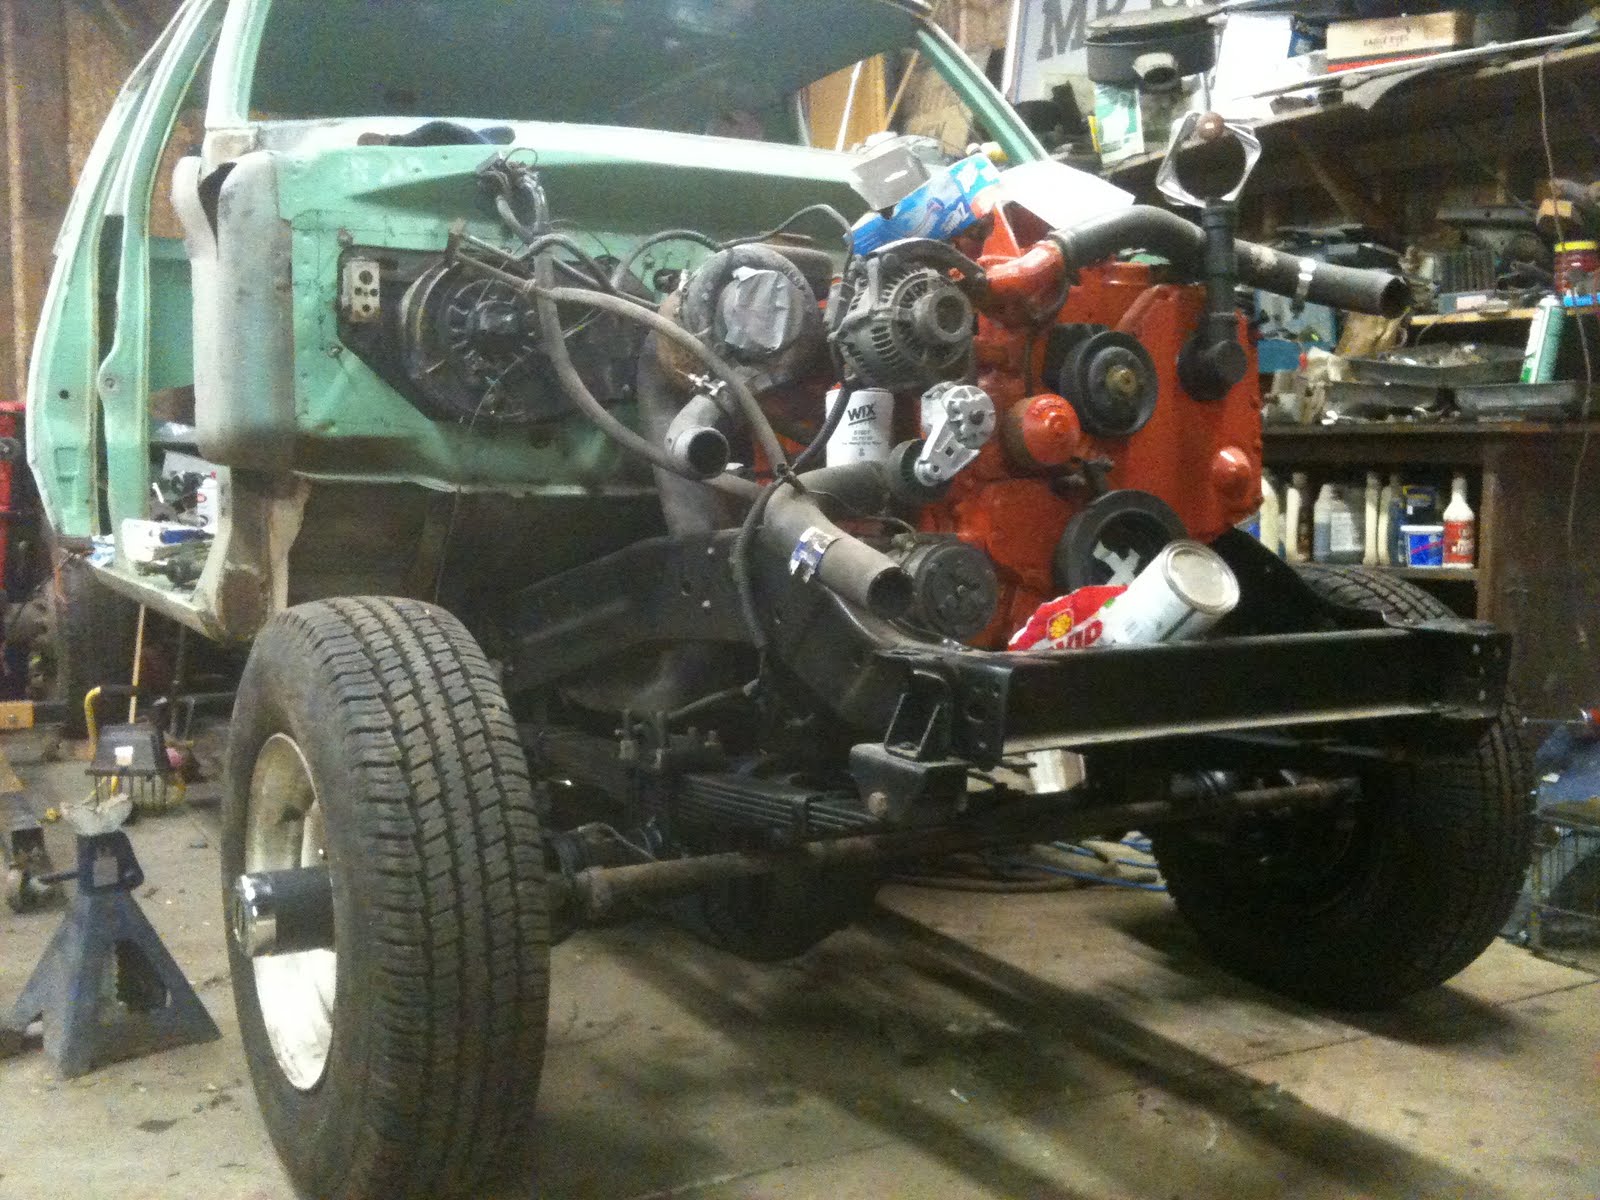 Done.
Done.

No comments:
Post a Comment