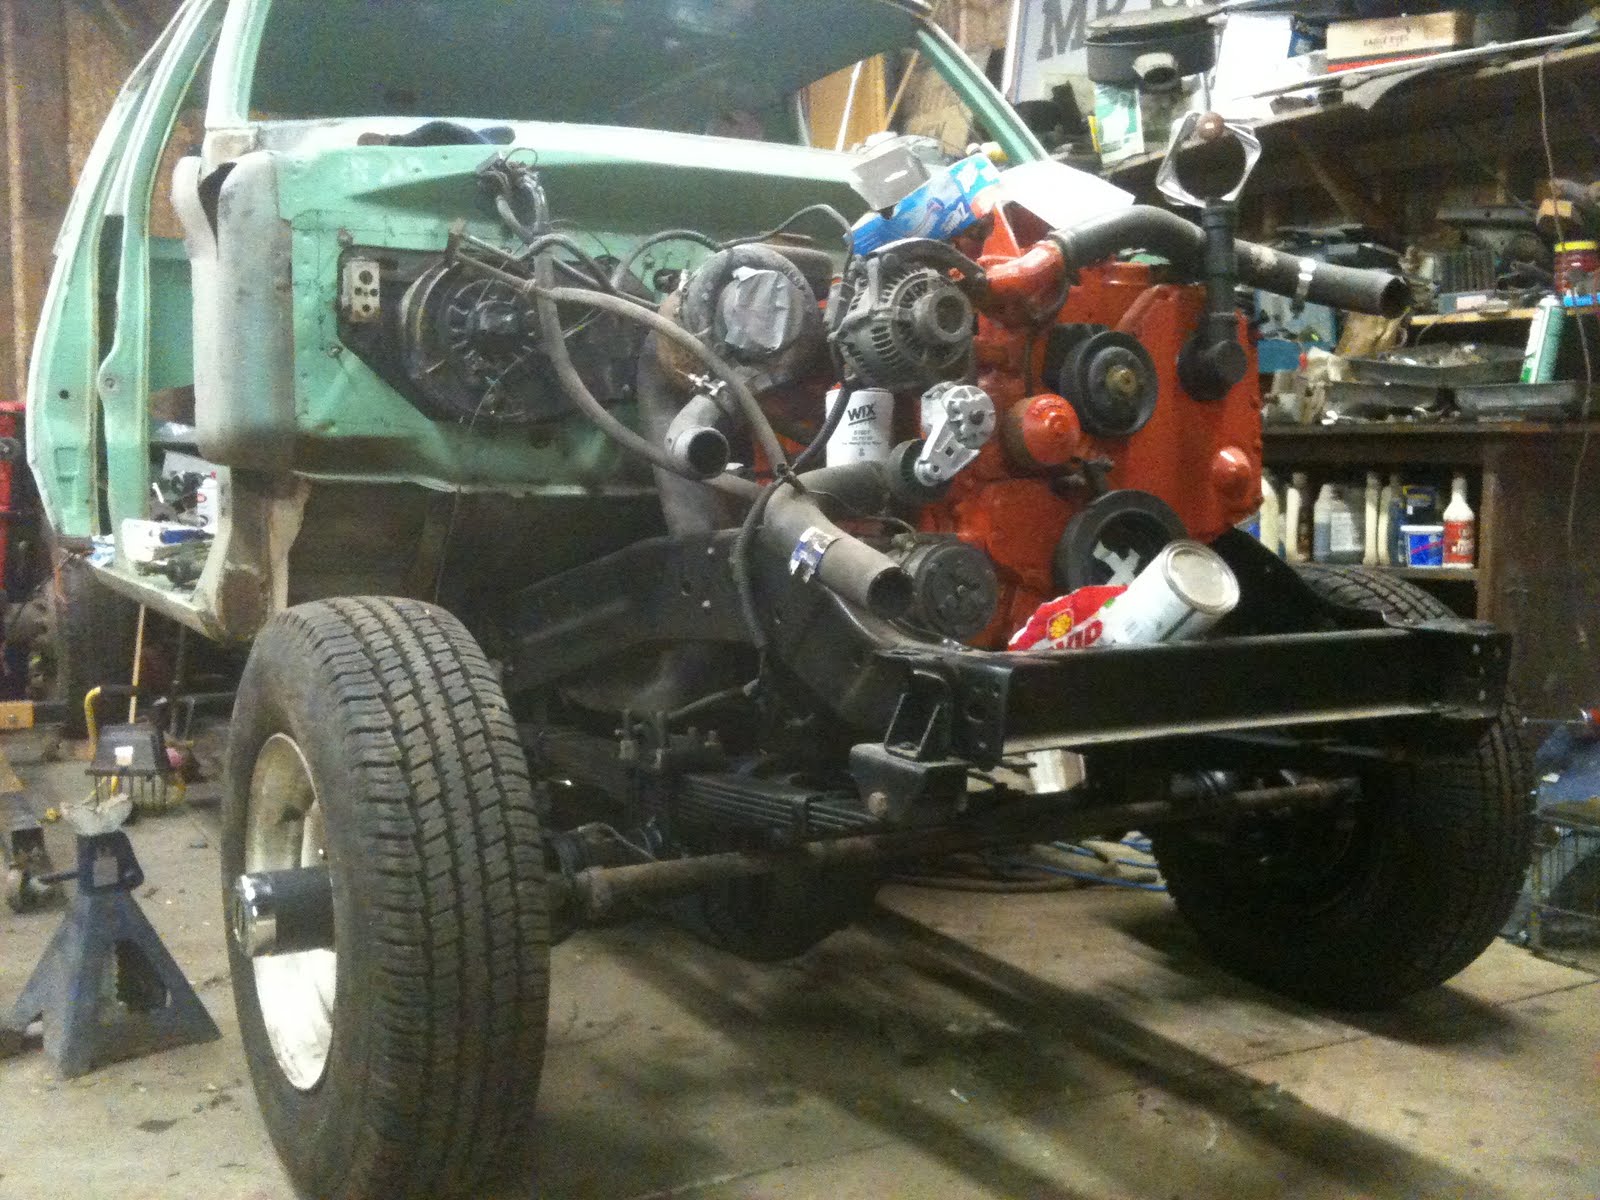
The rear axle for this guy was from a cab and chassis dually. The c&c housings are only two inches wider than the standard pick-up axle and since this one had 3 inch brakes and a limited slip, I thought I would just replace the 5/8 inch wheel studs and use it. That plan changed today. The first thing I noticed was the magnet in the cover. Yuck. Hopefully that is just magnetic friction material. I was planning on rebuilding the Power Lok anyway.
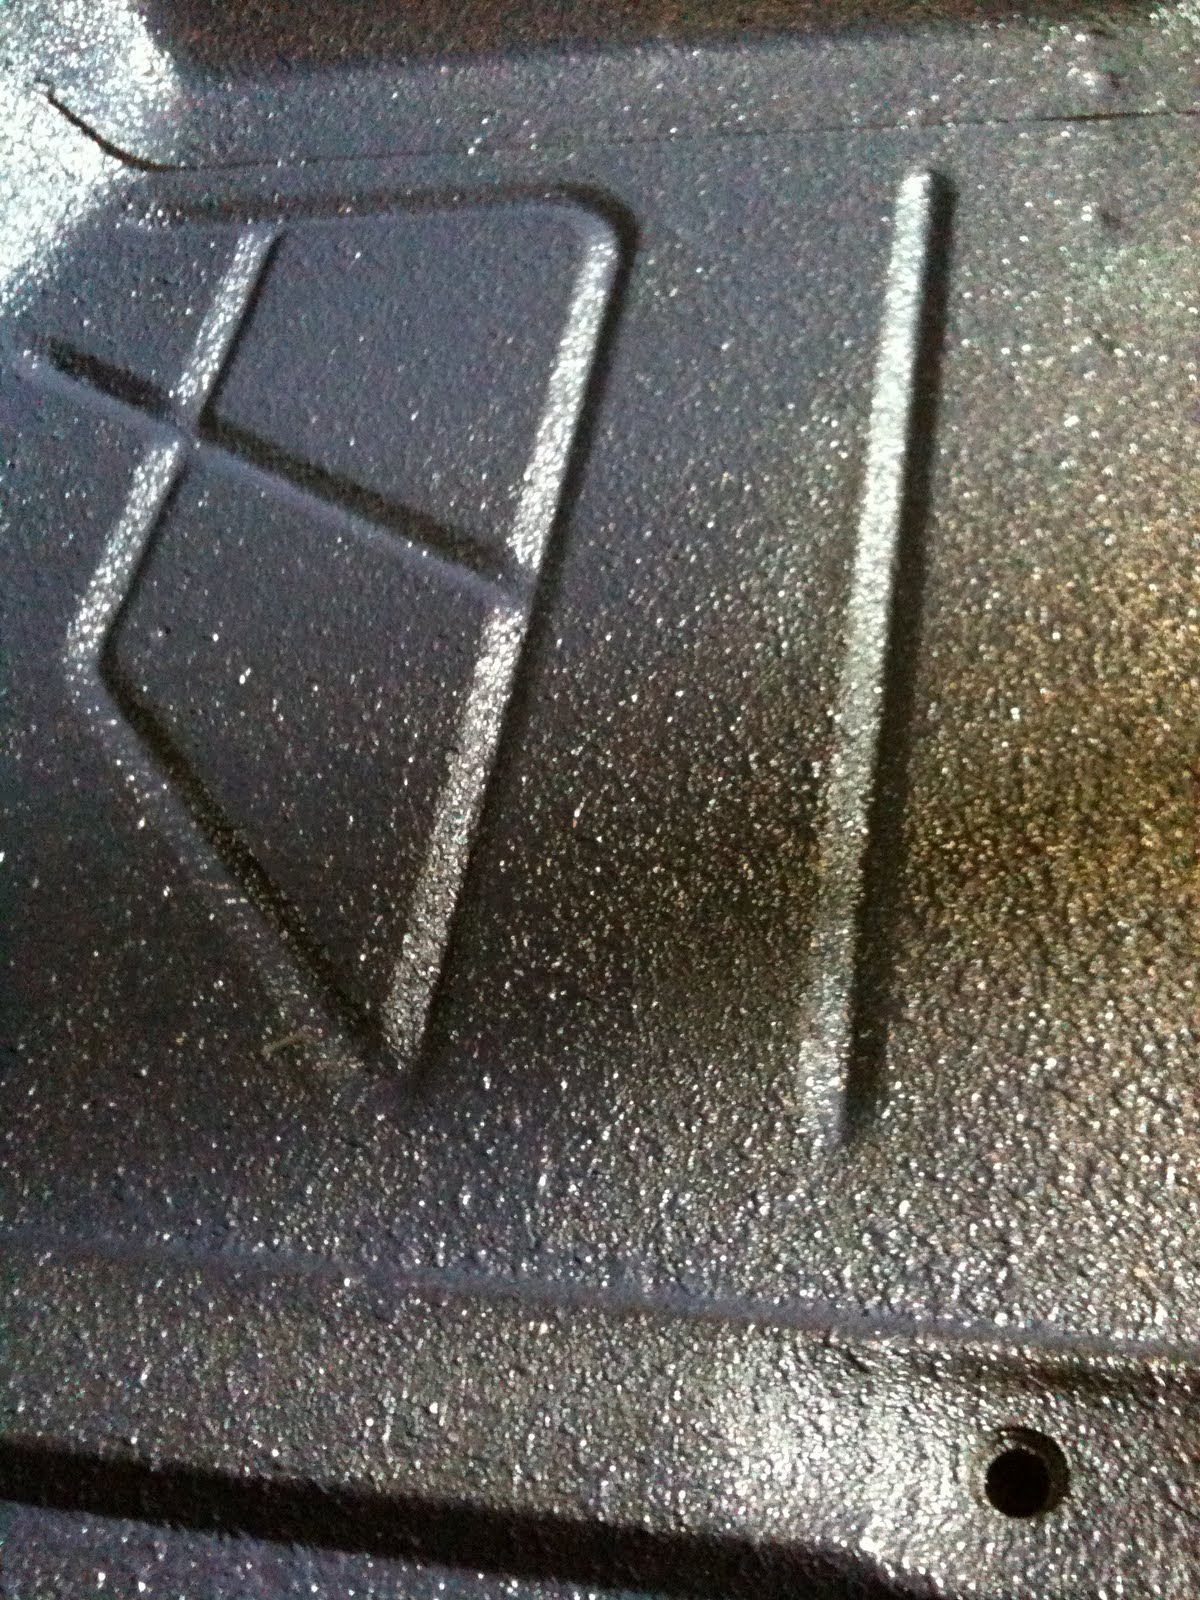
 Then I noticed this. Well, Maybe I can polish the rust off with emory cloth. maybe the hardened surface of the ring gear teeth aren't pitted. Then, I wiped the oil off the side of the ring gear and saw that these are 4:10 gears. Nooooo. With the tire size I will be running and the type of driving, I wanted them to be 3:54s. For a couple of years now I have thought they were 3:54s. I do not kno where I got that thought, But I was stunned this morning. What makes it even worse, I recently bought a set of dana 60 4:10s for the front of my ramcharger and had M&H machine install them for me. They took out 3:54s. I could have just swapped axles. now I will not only need to have them drop some 3:54s in my rear axle, I will need to have them put my old dana 60 ring and pinion into this truck's front end. Good grief. Anyway, I have a spare dana 70 rear axle that has the proper gears. I will just have M&H put the Power Lok in that one.
 I took this pick so I would have a guide for putting the brakes back together.
 I wonder if the same guy who silly-coned the king pin dust cap also put this hose clamp on the parking brake cable/lever.


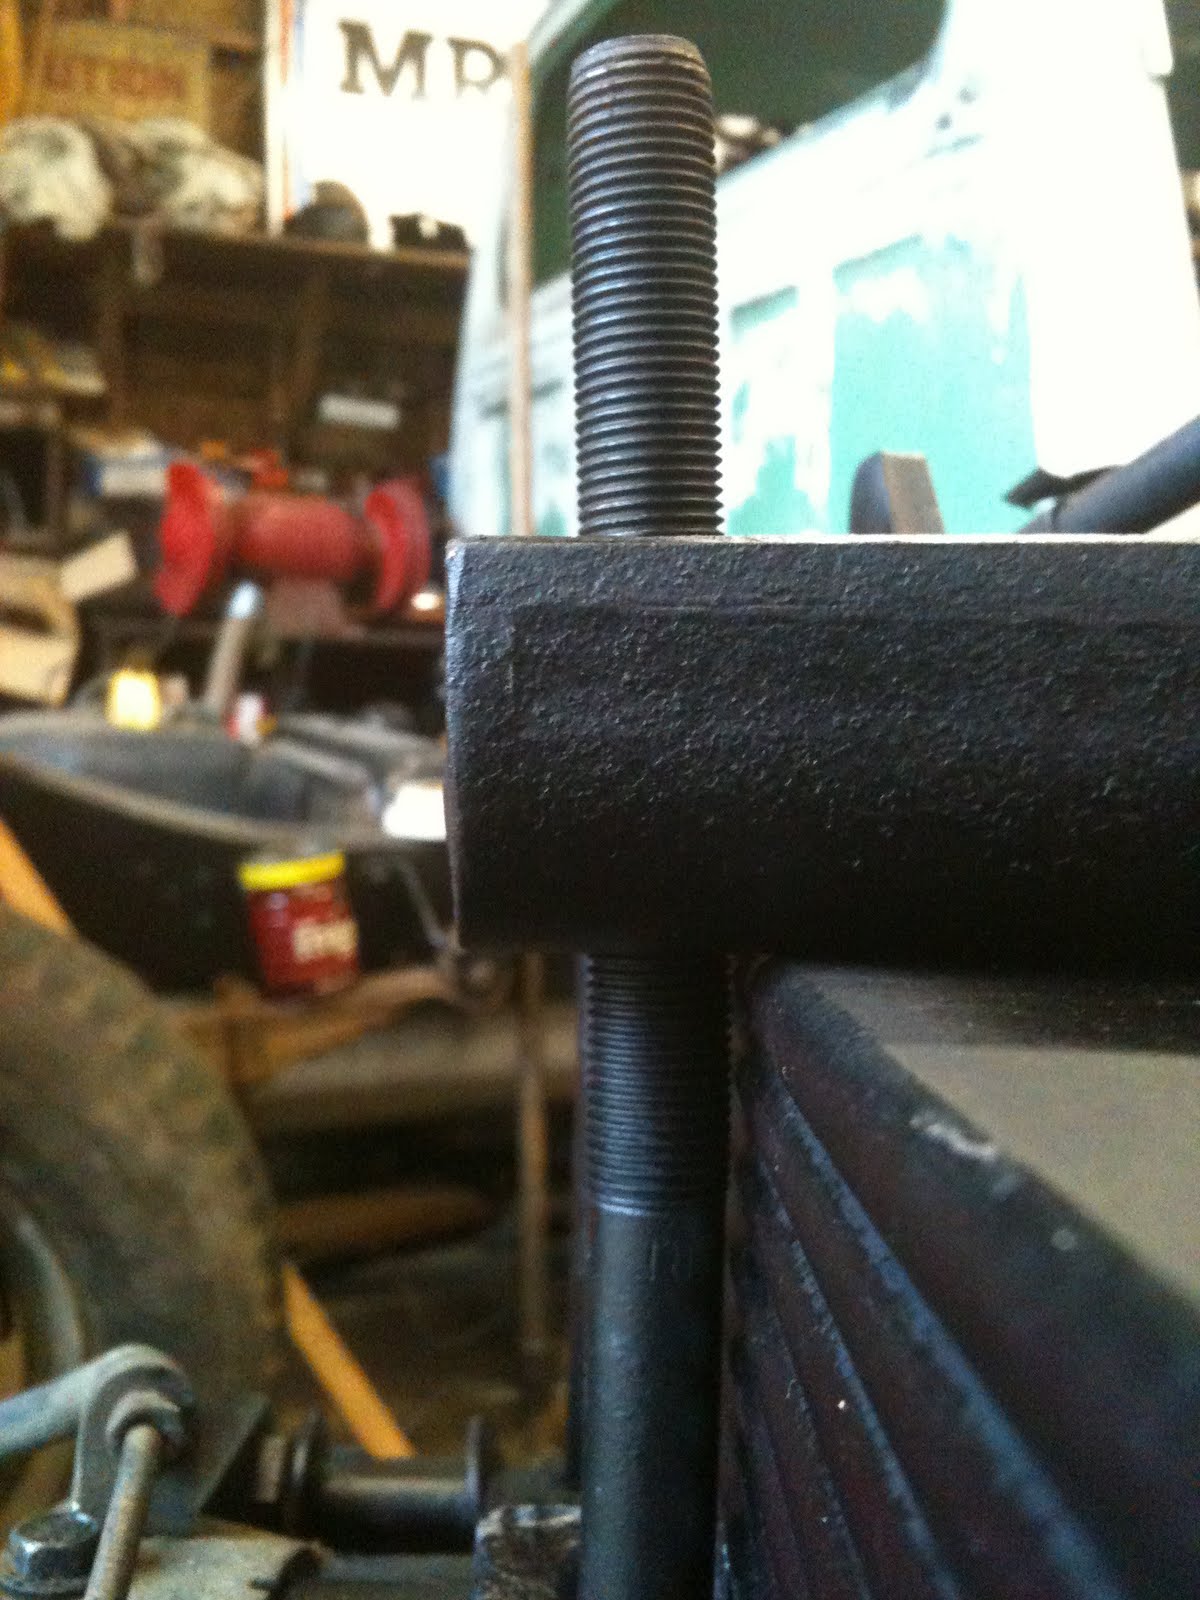
 I did not get a pick of this when I finished welding it, but it did not matter. It did not work. I was trying to make a tool to remove the upper king pin. When I ordered my parts from 4wd factory, I forgot to order the big hex wrench. I welded the doodad that was in the upper pin to an old tie rod I had in the corner. I proceeded to break the nut off a couple of times before I gave up and ordered the dang wrench.